
Video Wall on a Budget
What’s a video wall?
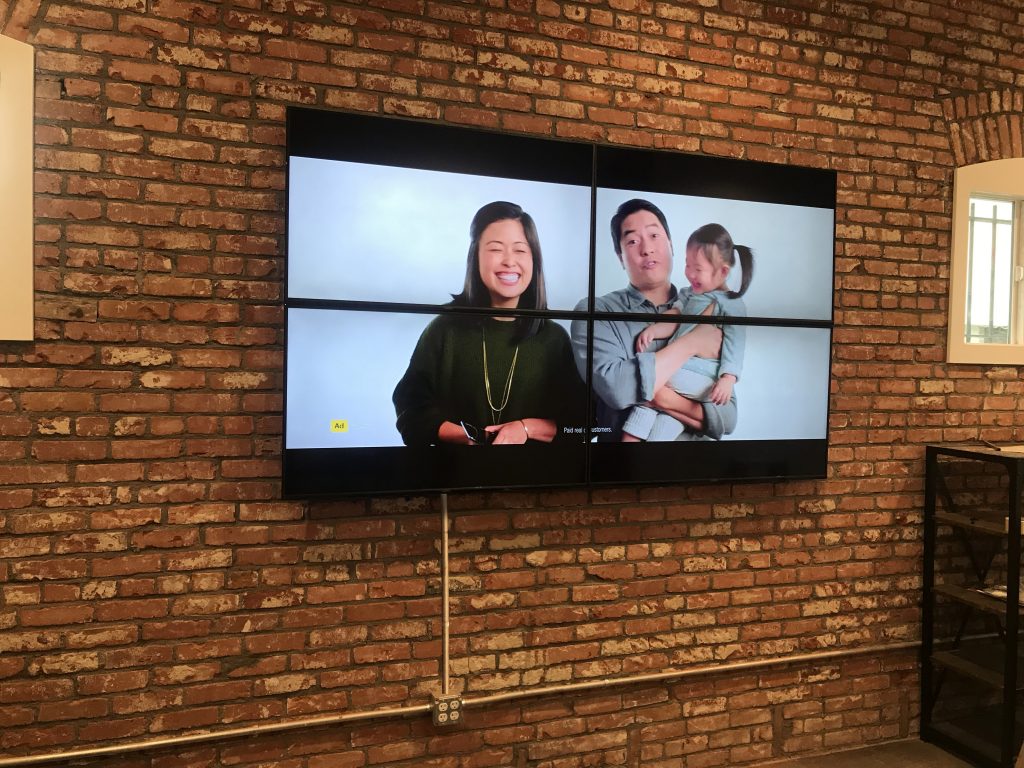
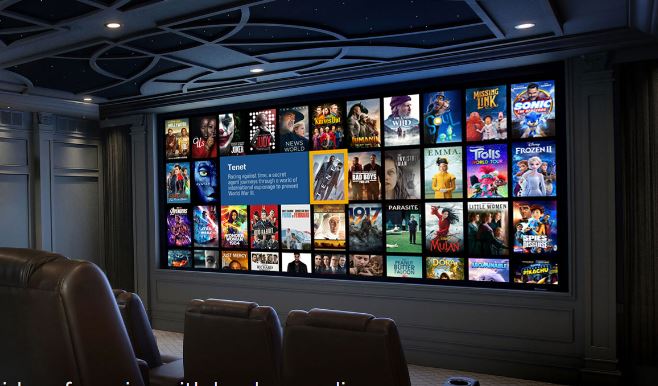
Video walls are an assemblage of several, independent, video display panels that, when put together, make a very large single display, often much larger than any single television display would be. Sometimes television displays are used instead of dedicated panels to make a video wall on a budget.
Where are video walls used?
Video walls are great for use as digital signage in small businesses. They can double as an advertising tool or as an entertainment source in a waiting room. They are becoming increasingly popular in sports bars and restaurants as well as doctor’s offices, automotive service center waiting rooms, etc. We even see residential customers putting them in their game rooms, media rooms & man caves. The use is limited only by your imagination.
How much does a video wall cost?
With TV prices dropping fast these days it’s not unreasonable to think you can have your very own video wall. Formerly video walls ranged in the tens of thousands of dollars. Even as of this writing, a quality video wall with a zero edge bezel and high resolution starts at $10,000 and can go upwards of $100,000. What can you do if you’re trying to maintain a budget? We were recently contracted to design & assemble a video wall from four, very inexpensive, 50″ Vizio TVs that are readily available. Those four TVs, the mounts and the video processing unit can be put together for about half of what a video wall is normally priced.
Step by step
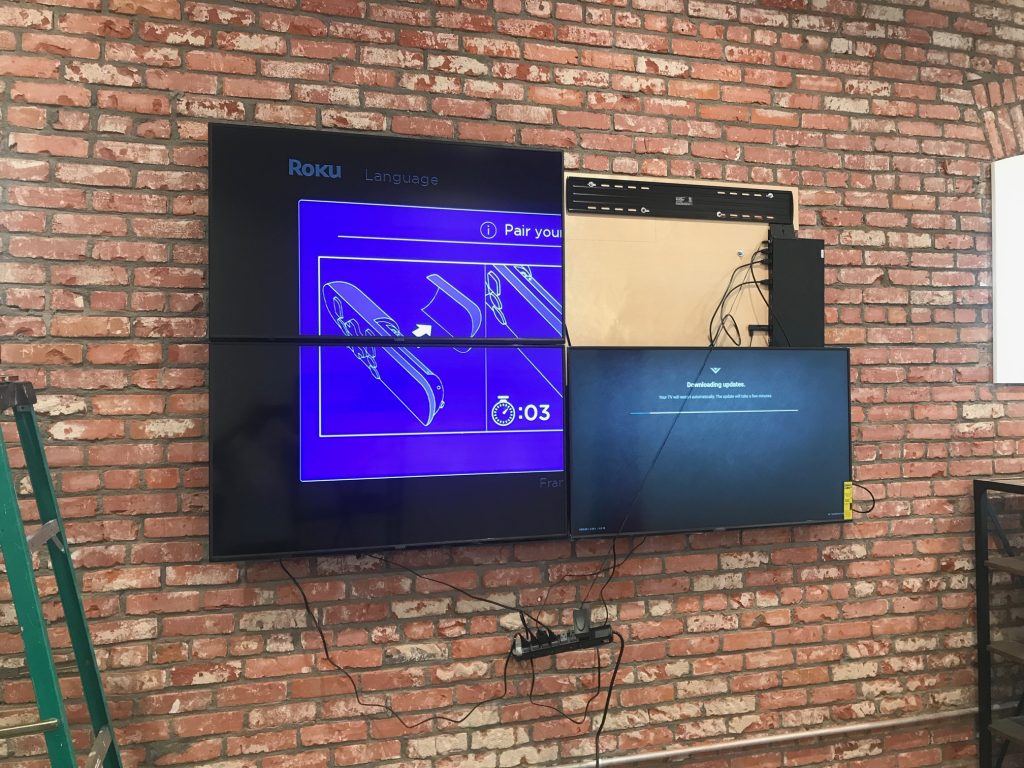
First you’ll need to select the displays or TVs that fit your budget. Bear in mind the bezel thickness and display quality. If you must have a bezel, it’s best to have it uniform on all four sides. Obviously thinner is better. After selecting the four (or more) displays, you measure where they’ll be mounted to a 4×8 foot sheet of plywood. We used furniture grade Maple in this install because it’s a very hard wood that also looks very nice. Attach the four mounts to the wood panel before mounting the panel on the wall. We always use display mounts that allow for fine adjustments of the display after it’s been hung. This assures a gap-free mounting.
Next you will mount the panel & mounts to the wall. You must do your research here as you don’t want your TVs falling off and hurting anyone. In this installation we attached the Maple wood into red brick by using stone bolts. Stone bolts are special bolt sleeves that are used for securing stone structures.
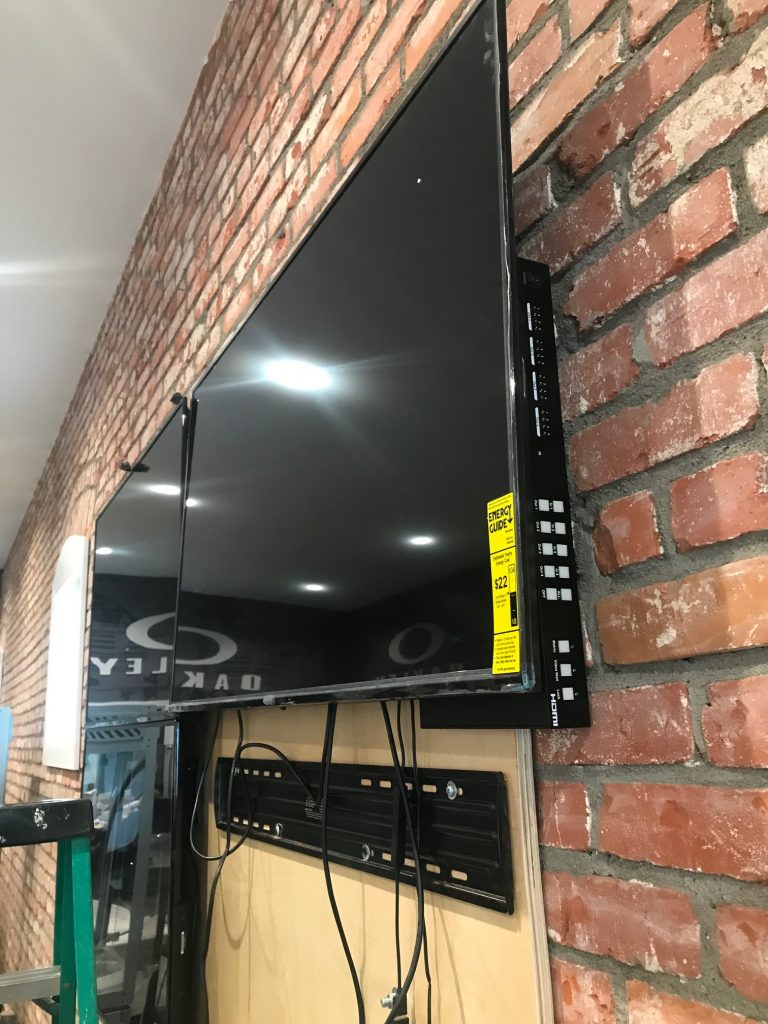
Once the panel is securely attached to the wall you can mount the displays. You need to mount the bottom ones first because you’ll need the room when it comes time to mount the top ones. Make sure you’ve left enough room for the surge protector and videoplexer. In our install we cut out a notch in the side allowing the TVs to go flatter against the wall.
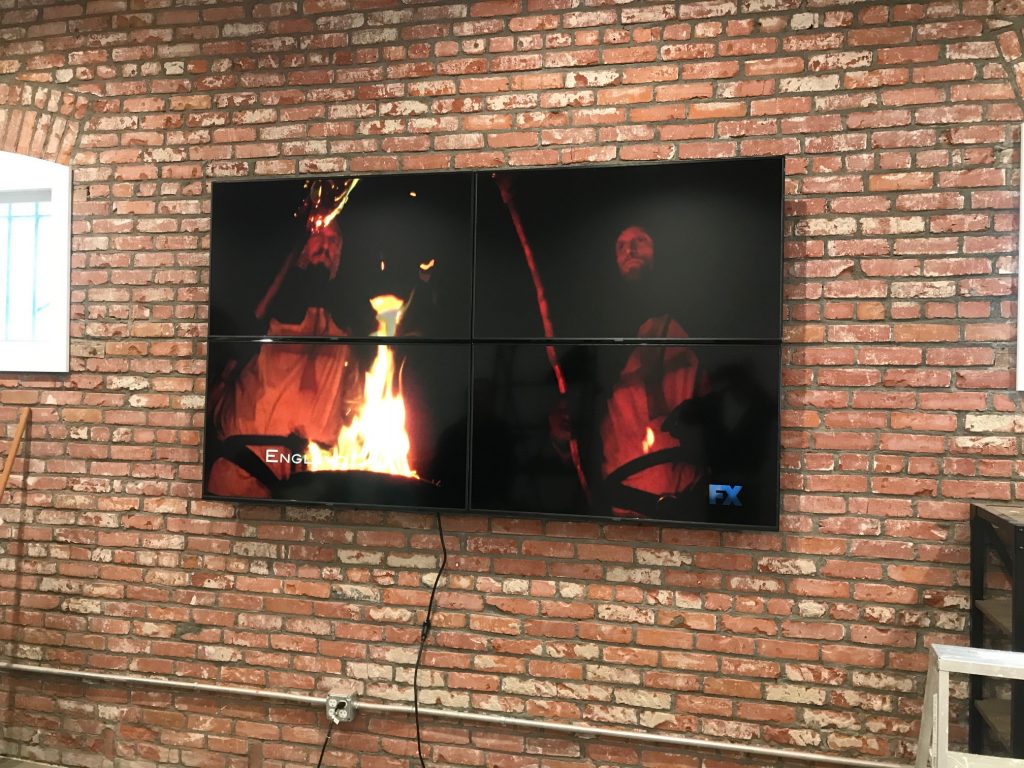
We hid a Roku behind the display and connected it to the video wall processor. The signal arrives via Wi-Fi and a single remote can control all four TVs. The last step now was to have a dedicated power outlet installed. Since the wall is red brick the client chose to run Galvanized Rigid Conduit Pipe on the surface. This compliments the rugged industrial look and feel while ensuring mechanical protection and durability.

Leave a Comment